rezor.io/Start: The Ultimate Guide to Setting Up and Using Your Trezor Wallet
In today's fast-paced crypto world, safeguarding your digital assets is more important than ever. That’s where Trezor.io/start comes into play. Trezor is one of the most trusted hardware wallets available, giving users full control of their cryptocurrency in a highly secure environment. Whether you're a beginner or an experienced investor, Trezor makes it simple to store, send, and receive digital currencies with unmatched peace of mind.
In this guide, we’ll walk you through everything you need to know about Trezor.io/start—from setting up your wallet to using it for daily transactions.
What Is Trezor?
Trezor is a hardware wallet developed by SatoshiLabs. Unlike software wallets, it stores your private keys offline, making it nearly impossible for hackers to access your funds. Trezor supports over 1,000 cryptocurrencies including Bitcoin, Ethereum, Litecoin, and more.
When you visit Trezor.io/start, you’re taken to the official onboarding page, where you’ll find all the resources to set up and start using your Trezor device.
Why Start at Trezor.io/start?
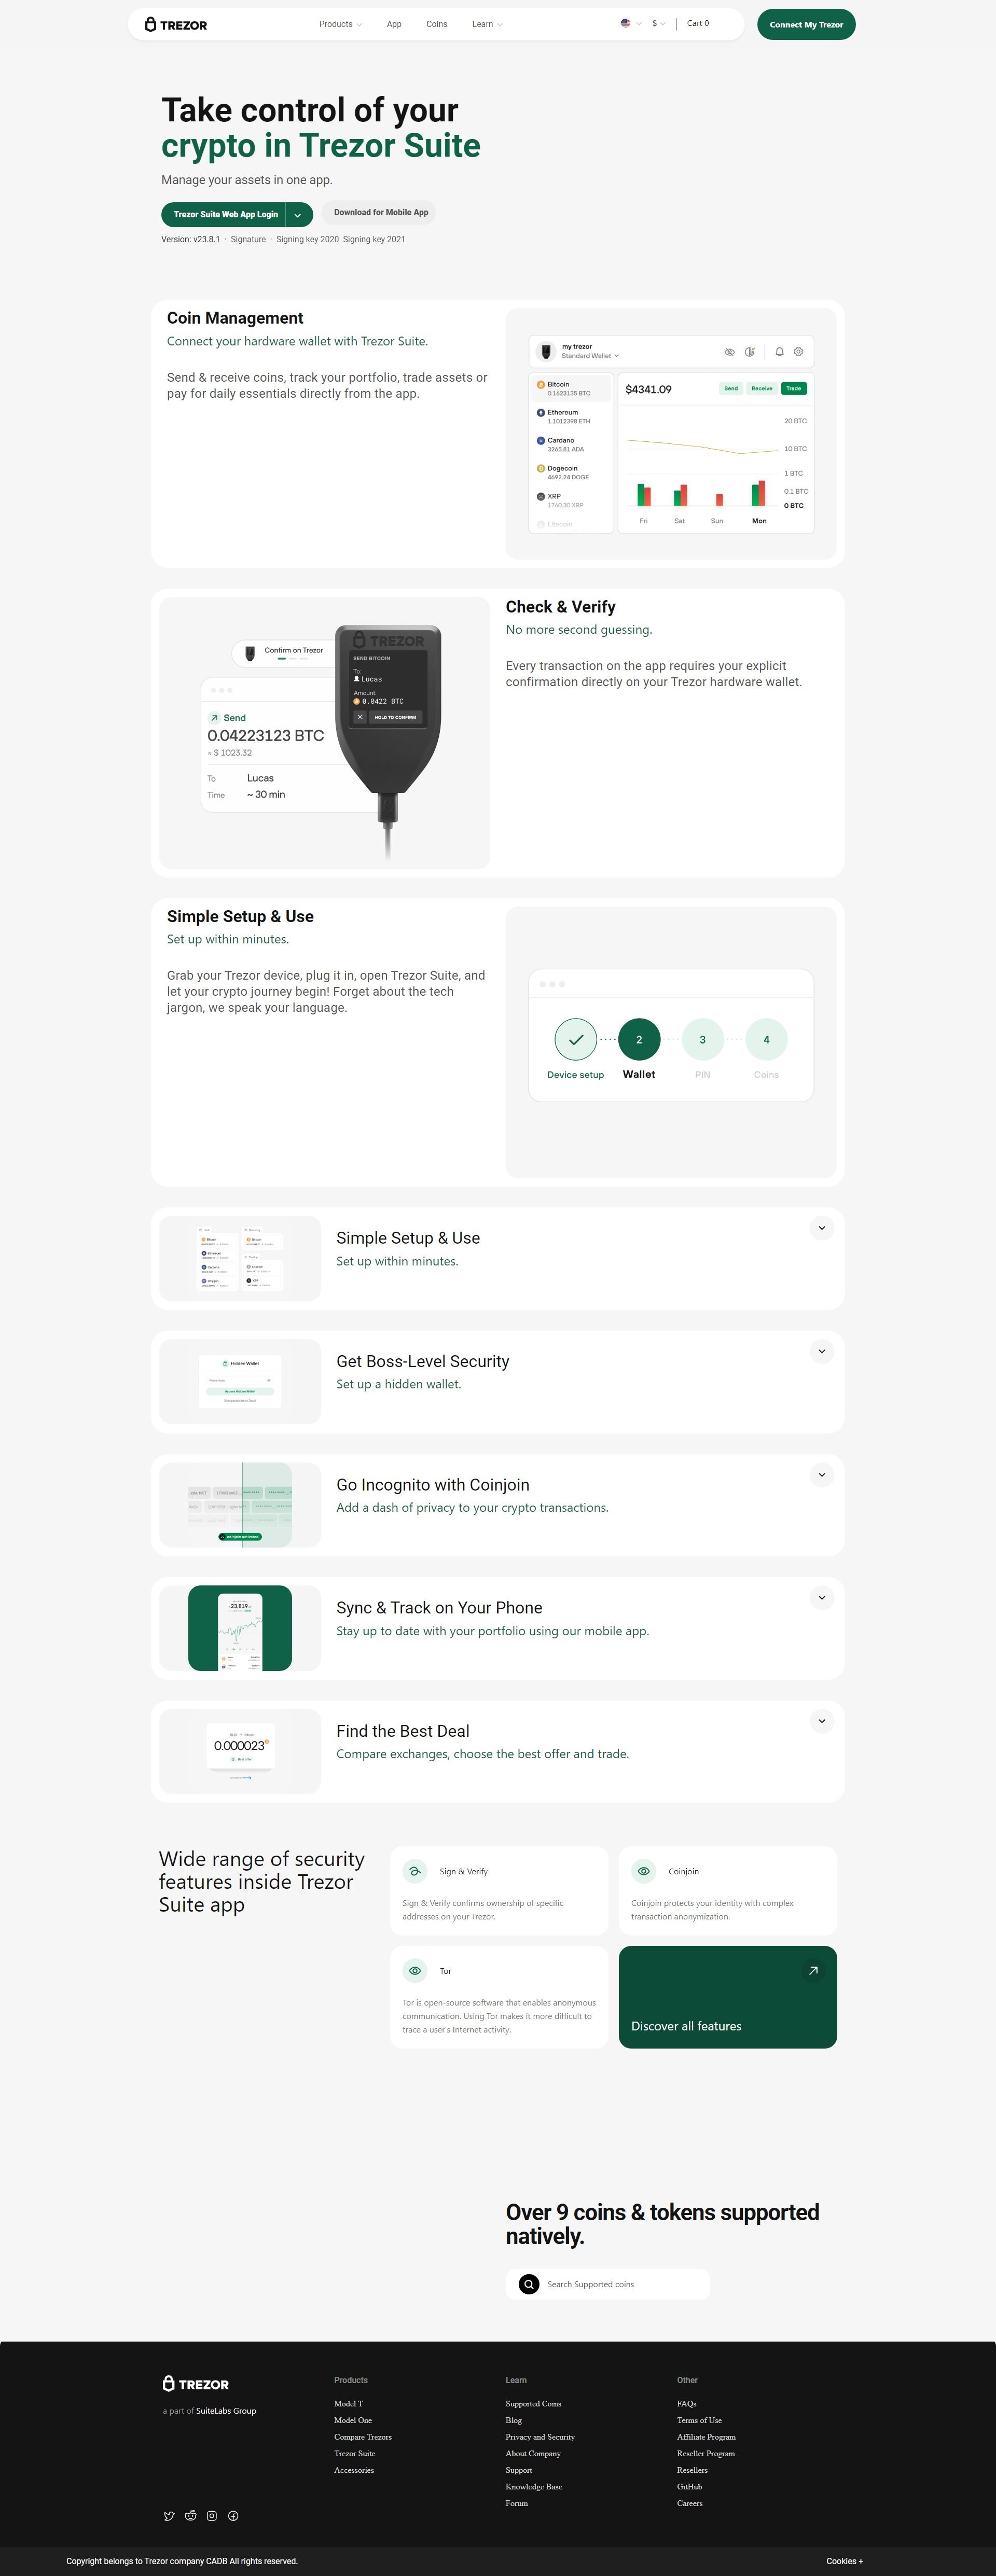
The setup process begins at trezor.io/start, where users are guided through:
- Device setup
- Firmware installation
- Creating or restoring a wallet
- Security best practices
Using this page ensures you’re following official steps, avoiding counterfeit products or unsafe third-party downloads.
How to Set Up Your Trezor Wallet via Trezor.io/start
Here’s a step-by-step breakdown of how to get started:
1. Unbox and Connect
After unboxing your Trezor Model T or Trezor One, connect it to your computer via the USB cable provided.
2. Visit Trezor.io/start
Open your browser and go to trezor.io/start. Choose your device model and download the Trezor Suite application. This is the official desktop app for managing your wallet.
3. Install Firmware
Your Trezor device does not come with pre-installed firmware (for security reasons). The site will prompt you to install the latest version. Confirm the process directly on your device.
4. Create or Restore Wallet
Choose whether to create a new wallet or recover one using a 24-word recovery seed. If you're creating a new wallet, make sure to write down the seed phrase securely and never store it online.
5. Set Up a PIN
To protect your wallet from unauthorized access, you'll set a secure PIN. This adds an extra layer of protection in case your device is lost or stolen.
Features of Trezor Wallet
- Offline Security: Private keys are stored offline, safe from online threats.
- Multi-Currency Support: Store 1,000+ cryptocurrencies.
- Open-Source Code: Trezor software is open-source, ensuring transparency.
- Passphrase Support: An optional feature for advanced users seeking extra protection.
- User-Friendly Interface: The Trezor Suite is intuitive and easy to navigate.
Why Trezor Stands Out
Security is where Trezor truly shines. Unlike mobile or desktop wallets, Trezor eliminates online vulnerabilities. Every transaction must be confirmed on the physical device, preventing unauthorized activity. It’s ideal for anyone who wants long-term, cold storage without sacrificing convenience.
In addition, with Trezor Suite, users can:
- Track portfolio value in real time
- Exchange crypto within the wallet
- Manage tokens from multiple networks
- Receive software updates directly
Frequently Asked Questions
Q1: Is Trezor.io/start safe to use? Yes, it’s the official onboarding page by SatoshiLabs. Always access it directly from the URL to avoid phishing websites.
Q2: Can I access Trezor on mobile? Trezor currently supports desktop platforms. However, certain models are compatible with Android devices using third-party apps.
Q3: What happens if I lose my Trezor device? As long as you have your 24-word recovery seed, you can restore your wallet on a new device.
Q4: Do I need internet access to use Trezor? You’ll need internet access to use Trezor Suite and communicate with the blockchain, but your private keys remain offline.
Final Thoughts
If you're serious about crypto security, starting your journey at Trezor.io/start is the smartest move you can make. The step-by-step onboarding, combined with industry-leading protection, ensures your digital assets stay safe. Don’t wait for a hack or mishap—get started today and protect your crypto future.
Made in Typedream